How to Create Seamless Carousels for Instagram and LinkedIn
Learn the secret behind those beautiful, continuous swipeable posts and how to make your own without expensive design software.
Written by
FreeUtilHub Editorial Team
Review standard
FreeUtilHub Review Process
Updated
June 19, 2026
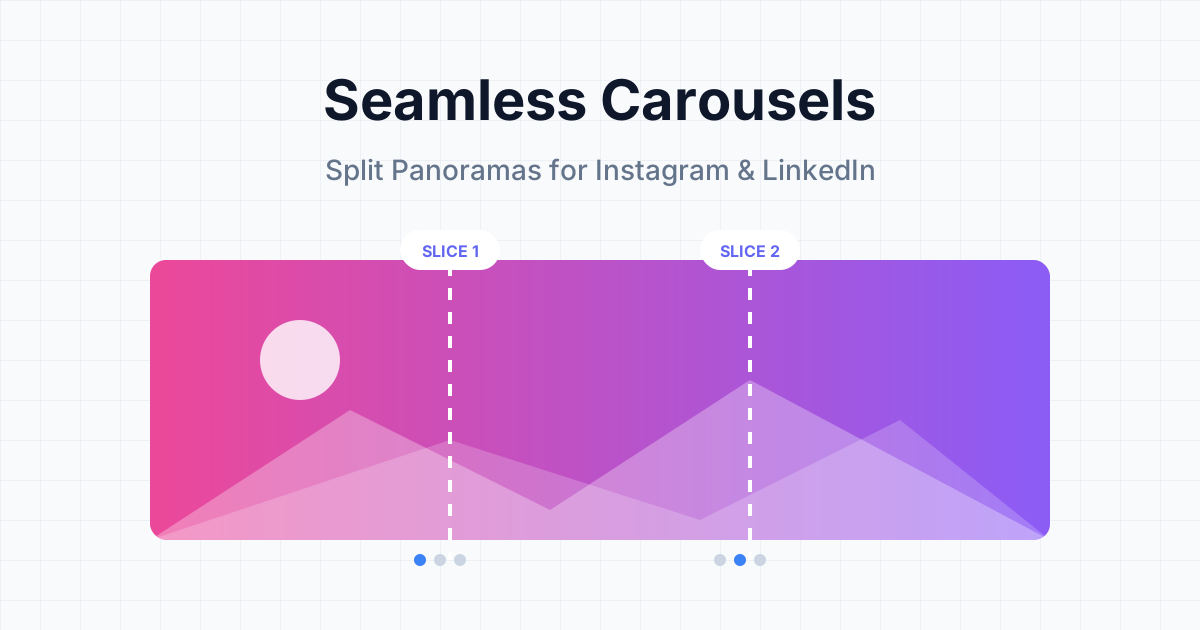
If you spend any time on Instagram or LinkedIn, you have likely seen "seamless carousels." These are multi-image posts where a single panoramic image flows perfectly from one slide to the next as you swipe. They are highly engaging, look incredibly professional, and encourage users to spend more time looking at your content.
Why Seamless Carousels Work
Social media algorithms reward "dwell time" (how long someone looks at your post). When a user swipes to the second slide of a seamless carousel, they are naturally drawn to keep swiping to see the rest of the image or read the rest of the story. It is a powerful storytelling format for photographers, designers, educators, and marketers.
The Old Way of Making Them
Historically, creating these required advanced design software like Adobe Photoshop or Illustrator. You would have to create a massive canvas (e.g., 5400px by 1080px for a 5-slide carousel), design your content across it, set up precise slice guides, and use the "Save for Web" slice export tool. It was tedious and not accessible for quick mobile posting.
The Modern, Free Way
Today, you do not need expensive software. The easiest workflow is:
- Design the wide image: Use any tool you like (Figma, Canva, or even a panoramic photo from your phone). For Instagram, use a height of 1080px (or 1350px for tall posts) and multiply the width by the number of slides (e.g., 1080 x 4 = 4320px width).
- Export the single image: Export your wide panorama as a single high-quality JPG or PNG.
- Slice it automatically: Upload that single wide image to our free Image Splitter Tool. Select "Carousel" mode, choose the number of slides, and click download. You will instantly get a ZIP file containing the perfectly sliced squares.
What About Grid Puzzles?
The exact same tool can be used to create Instagram grid puzzles. Instead of slicing horizontally, switch to "Grid Layout" mode and select 3 columns and 3 rows. This will chop a large image into 9 squares. When you upload them to your Instagram profile (starting from the bottom-right image and ending with the top-left), they will assemble into one giant picture on your profile grid.
Stop paying for mobile apps with watermarks. Try our completely free Image Splitter right in your browser today.
Editorial note
This article is published to explain a practical workflow related to tools available on FreeUtilHub.
We aim to keep articles practical, accurate, and tied to real site workflows. For more information, read our Editorial Policy, How We Test Tools, or contact us if you believe a page needs a correction.

